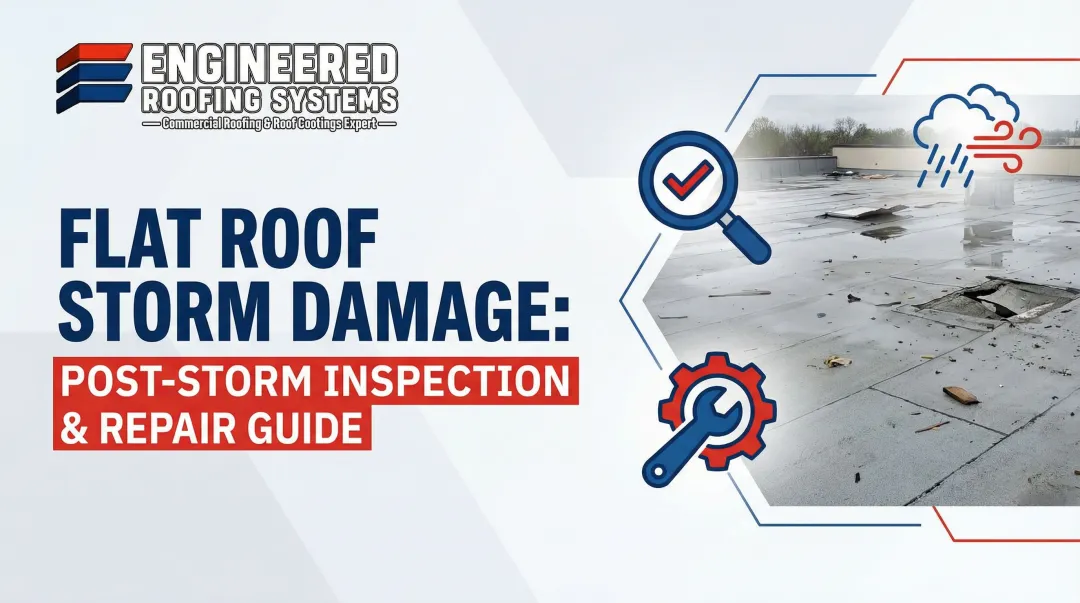

None of that damage is always visible from the parking lot. A commercial roof can look fine from below while membrane seams separate, insulation soaks through, or flashing lifts at the edge.
Delaying an inspection risks interior leaks, structural decay, and a weaker insurance claim if you wait too long to document conditions. This guide breaks down what to check, which methods work best, how to read the results, and where facility managers commonly go wrong.
TL;DR
- Inspect promptly after a storm, combining ground-level and professional rooftop methods
- Use binoculars, moisture meters, thermal imaging, and interior checks to spot hidden moisture and impact damage
- Sort findings into three outcomes: no confirmed issue, localized repair, or systemic/unsafe condition
- Don’t skip interior checks or mistake normal wear for storm damage
- Limit roof access to trained personnel with proper fall protection
What You Need to Check a Commercial Roof After Storm Damage
Industrial and commercial roofs (TPO, EPDM, metal panels, coatings) aren't built like residential shingle roofs, and they don't get inspected the same way. Low-slope membrane systems hide damage under seams and insulation layers that a ladder-and-flashlight approach will miss entirely.
Tools Required
A thorough post-storm check calls for:
- Binoculars for a safe ground-level scan of the roofline
- Moisture meter to verify suspected wet insulation
- Drone or thermal imaging camera to spot temperature differences that indicate trapped moisture
- Flashlight for interior ceiling and deck-underside checks
- Camera to document everything for insurance purposes

Preconditions and Setup
Before anyone steps onto the roof, confirm it's structurally sound. Standing water, debris piles, or visibly sagging decking are red flags that require a professional evaluation first, not a walk-through.
Schedule the check for daylight and dry conditions so visibility is accurate. Record weather event details—date, estimated wind speed, and hail size—to support any insurance claim later.
Methods to Check a Commercial Roof for Storm Damage
Which method you use depends on roof type, how accessible the structure is, and how severe the storm was. Most thorough assessments use all three below in sequence.
Method 1: Ground-Level Visual Scan
This is your first, safest pass. Walk the perimeter and look up.
Tools needed: Binoculars, camera, notepad
Steps:
- Walk the building perimeter, checking gutters and downspouts for granules or debris buildup
- Scan the roofline for missing panels, lifted flashing, or visible punctures
- Photograph any concerning areas immediately for documentation
Pros & cons: Fast and safe, but it won't catch membrane damage or structural issues hidden from view.
Method 2: Professional Rooftop Walk Inspection
This is where trained technicians earn their keep, physically checking the membrane, flashing, seams, and drainage.
Tools needed: Moisture meter, seam probe, ladder and fall protection gear
Steps:
- Check the membrane for punctures, blistering, or seam separation
- Inspect flashing, curbs, and penetrations around HVAC units and vents
- Test for ponding water or clogged drains, which often signal storm-related drainage failure
Pros & cons: Most accurate and thorough method available, but it isn't a DIY job. Roof access after a storm carries real fall risk, and OSHA's rules for low-slope roof work get stricter the closer you are to an unprotected edge.

Method 3: Interior and Thermal Assessment
Some of the worst storm damage never shows on the roof surface at all. It shows up as a stain on a ceiling tile weeks later.
Tools needed: Flashlight, thermal camera, moisture meter
Steps:
- Inspect ceiling tiles and walls for staining or discoloration
- Use thermal imaging to identify cooler, wet spots trapped under the membrane
- Cross-reference interior findings with exterior inspection notes
Pros & cons: Catches hidden leaks early, but it takes specialized equipment and someone who knows how to read the results correctly. A thermal anomaly is a lead worth verifying, not an automatic diagnosis.
Engineered Roofing Systems combines these three approaches during storm assessments for industrial and commercial clients across Southeast Texas. When hidden moisture is suspected, technicians add core sampling or infrared scans. In one coated-versus-uncoated comparison, thermal scans showed a temperature difference of over 60°F, flagging moisture no visual check would catch.

How to Interpret the Results
Misreading storm damage cuts both ways. Miss something real, and you get a leak six months from now. Overreact to normal wear, and you file an unnecessary claim.
| Status | What it looks like | Recommended action |
|---|---|---|
| Normal/Acceptable | No punctures, seams intact, no ponding beyond 48 hours | Continue routine monitoring |
| Minor Issues | Isolated seam wrinkles, slight flashing lift, minor ponding | Schedule repair before next storm season |
| Out-of-Spec | Membrane punctures, exposed decking, sagging, interior water stains | Get immediate professional repair and start insurance documentation |
A single visible defect rarely tells the whole story. Identify which part of the roof assembly failed first, and compare damaged areas with undamaged ones instead of judging the entire roof from one leak point.

Common Errors When Checking Storm Damage
Facility managers who skip steps here usually pay for it later. Watch for these:
- Skipping interior checks: missing early leak indicators that only show up as ceiling staining
- Confusing aging membrane wear with fresh storm damage: wasted repair budget or a denied claim
- Skipping documentation: weakens your position when it's time to file with the insurer
- Attempting rooftop access without proper safety training or gear: the single most dangerous mistake on this list
Safety and Best Practices
Roof access after a storm isn't the place to cut corners.
- Never walk a storm-damaged roof without confirming structural stability first
- Use fall protection and non-slip footwear on wet or debris-covered surfaces
- Clear debris before inspecting so it doesn't hide damage or throw off moisture readings
- Schedule inspections promptly to support insurance documentation and stop minor damage from spreading
OSHA's low-slope roof rules set different fall-protection requirements based on distance from the edge. That is why storm inspections belong to trained crews, not a maintenance staffer with a ladder.
Conclusion
A reliable post-storm inspection combines three layers: a ground-level scan, a professional rooftop walk-through, and an interior/thermal check. Skip any one of them, and you're guessing.
Catching minor issues early, before the next storm rolls through, is almost always cheaper than waiting for a full membrane failure or a denied insurance claim.
Facility managers across Southeast Texas, from manufacturing plants to warehouses to railcar repair facilities, can turn to Engineered Roofing Systems for honest, documented storm damage assessments that hold up when it's time to file a claim.
Frequently Asked Questions
What should I do if my roof is leaking during a storm?
Move to safety first. Contain interior damage with buckets or tarps if it's safe to do so, and avoid roof access entirely until the storm passes and conditions are stable.
What causes a roof to be blown off during a storm?
High wind uplift combined with weakened fasteners, aging materials, or improper installation can cause panels or membrane sections to detach. Damage often starts at the roof perimeter or edge flashing.
How soon after a storm should I schedule a roof inspection?
As soon as it's safe. Prompt inspections catch damage early and give you solid documentation to support an insurance claim before conditions worsen.
Can I inspect my commercial roof myself after a storm?
Ground-level visual checks are fine for anyone. Rooftop access should be left to trained professionals due to fall risk and the difficulty of spotting hidden membrane damage.
Will my insurance cover storm damage repairs?
It depends on your policy. Insurers typically require a professional inspection report with photo documentation to support a claim, which is why timely assessment matters.
How do I know if roof damage needs replacement instead of repair?
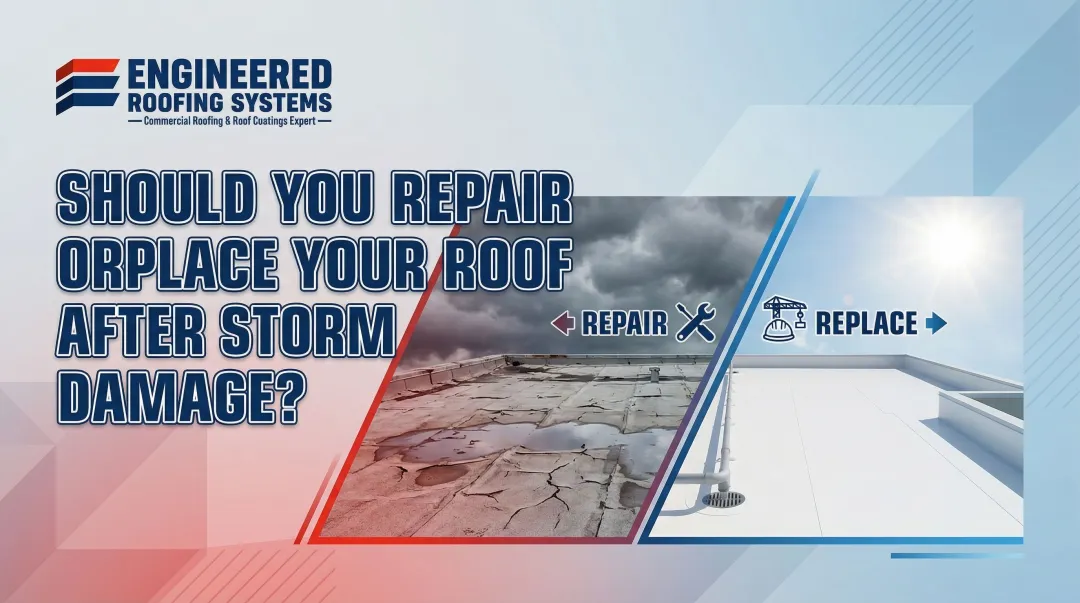
Widespread membrane failure, structural sagging, or repeated leaks across multiple areas usually mean replacement is more cost-effective than ongoing patch repairs.